2023-03-06
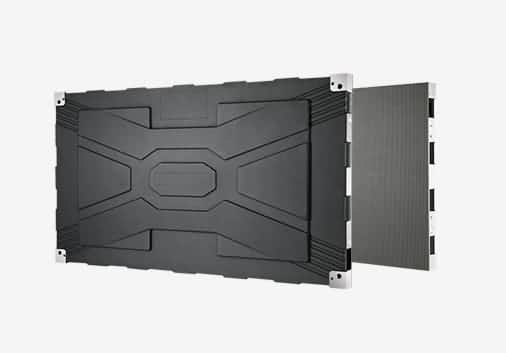
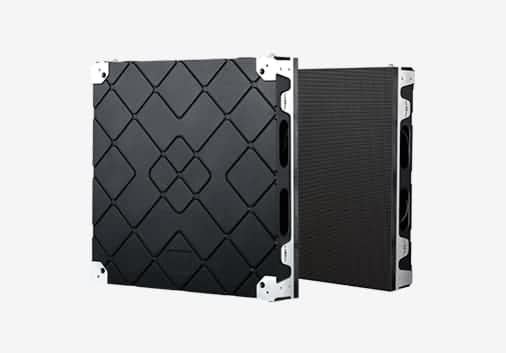
Genesis II Installation Guide
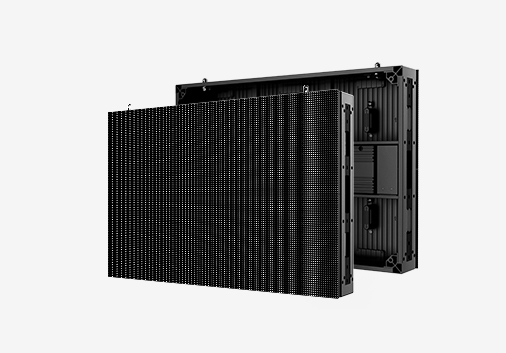
Genesis II outdoor LED display is Dakco’s best-selling product. It’s easy to install, disassemble and maintain. With Genesis II, we’ve helped numerous companies to boost their business in the past few years.
This is an installation guide of Genesis II. This manual introduces the structures and guides you through the installation process. Check out this video: https://youtu.be/FvVCewV9v60
Video Contents:
0:01-0:10 Packing
0:11-0:19 Verification of Cargoes
0:20-0:28 Cabinet Sizes
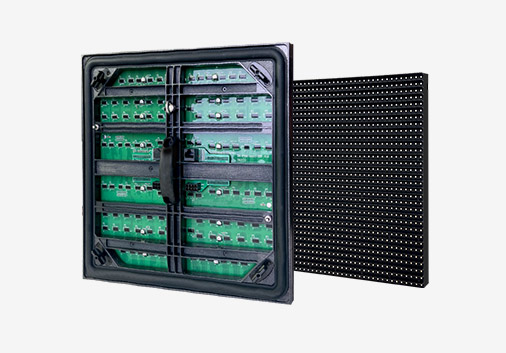
0:29-0:56 Cabinet Structure (External)
0:57-1:08 Module
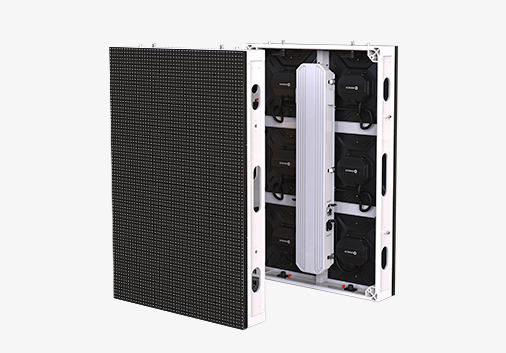
1:09-1:24 Cabinet Structure (Internal)
1:25-1:53 Single LED Cabinet Light Up Testing
1:54-1:59 Precautions for Installation
2:00-2:34 Cabinet Connection (Left & Right)
2:35-2:45 Cabinet Connection (Top & Bottom)
2:46-3:07 Cabinet Connection (Different Sizes)
3:08-4:12 Cable Connection (For A Double-Sided Screen)
*Installation of “Angle Brackets”: 2:02-2:07; Removal of “Watertight Caps”: 2:35-2:38
Installation of “4G Router”: 3:44-3:54; Installation of “Light Sensor”: 3:55-3: 59
Single LED Cabinet Light Up Testing
1. Connect the power cable.
2. Use an Allen key to remove the modules where receiving cards are located (see the “Mounting Holes and Wiring Diagram”).
3. Press testing button to change the screen’s color for defect detection.
Precautions for Installation:
⚠Note: Failure to observe these precautions may result in damage to equipment.
1. Make sure to review all the details in “Mounting Holes and Wiring Diagram” and follow the instructions before any hardware installation.
2. Make sure not to weld the LED cabinets directly.
3. Make sure not to drill holes into the LED cabinets.
4. Make sure cooling space is set between the LED display and the wall for the rear ventilation cabinet (at least 3’’).
5. Make sure to leave sufficient space for ventilation when applying a protective cover on the front. A protective cover is NOT RECOMMENDED.
6. Make sure to fix the cabinets on the frame or use eye bolts/lifting eyes (installed on angle brackets) rather than the cabinet itself for lifting during the installation process.
7. Make sure to use the “Watertight Connectors/PG Connectors” when connecting cables between LED cabinets.
8. Make sure to connect the ground wire.
Cabinet Connection
1. Tighten the screws to secure the “Angle Brackets” at the top and bottom of the cabinets.
2. Knock off the “Knock-Down Holes”.
3. Fasten cabinets from the inside with M10 screws and rubber washers.
4. Tighten the screws on the mounting plates to secure the cabinet connection on the rear side.
5. Install “Watertight Connectors/PG Connectors” between cabinets.
6. Install “Watertight Hole Plugs /Watertight Caps” on both sides of the cabinet.
Cable Connection (For A Double-Sided Screen)
1. Remove modules with an Allen key.
2. Tighten the screws into the base plate to fix the “Controller/Player"
3. Connect the power cable to the “Controller/Player”.
4. Plug in power and signal cables.
5. Detach the signal connectors and connect the cable to the “Controller/Player”
6. Detach the signal connectors and connect the cable to the “Hub card”.
7. Get a new signal cable and plug it into “Hub Card” on each cabinet.
8. Installation of “4G Router”: Connect the power cable; connect the signal cable to the “Controller/Player”.
9. Installation of “Light Sensor”: Connect the sensor cable and WIFI cable to the “Controller/Player”.
10. Get a power cable for each layer of LED cabinets.
11. Put the modules back and turn the power ON.

Need good-quality LED displays for your projects? Interested in becoming one of our distributors? In need of technical supports to better serve the customers? Want to learn more about our products & services? Please hesitate no more and contact Dakco via the link below!
Contact us